A simple Add-on to edit your columns and rows
Overview
The Inline Table Editing tool allows the user to directly edit the content in the table without entering into Edit mode. It is very useful for pages with alot of content.
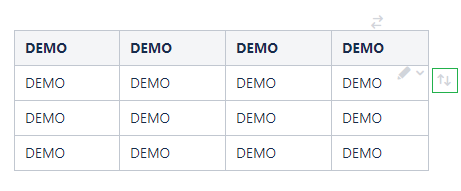
Editing is done using the following icons:
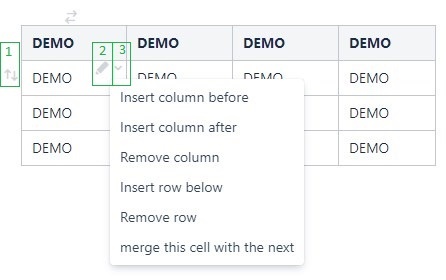
1 - Move row. Drag the row using this icon
2 - Edit cell
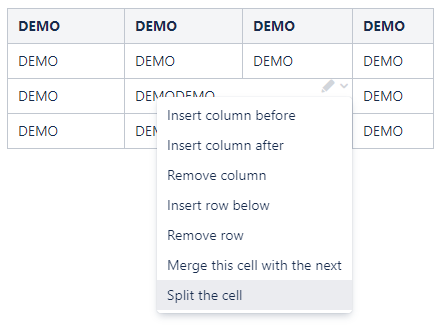
3 - Dropdown icon for options: Insert column before, Insert column after, Remove column, Insert row below, Remove row, Merge this cell with the next.
Configuration
The user is able to configure the Inline Table Editing Plugin. The following are the options available:
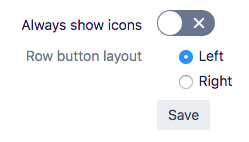
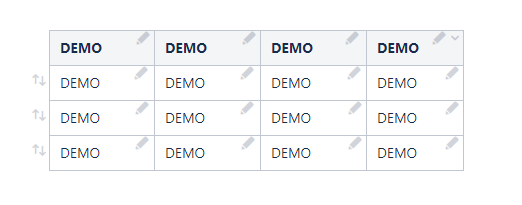
The "Always show icons" option allows the user to choose if the icons should always be shown for each cell by default or just during mouseovering. E.g. When the "Always show icons" is set to "yes":
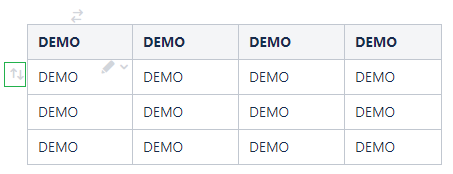
The "Row button layout" option allows the user to choose on which side of a table's row, icons should be shown.
E.g. left side:
Or right side:
Use cases:
Edit table elements (rows and columns)
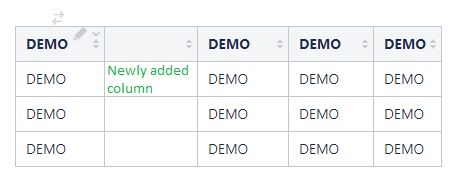
The user is able to add/remove columns using the 'Insert column before', 'Insert column after', 'Remove column' options. These options are available for use in any cell in the table.
The newly created column will be added before/after the column with the cell:
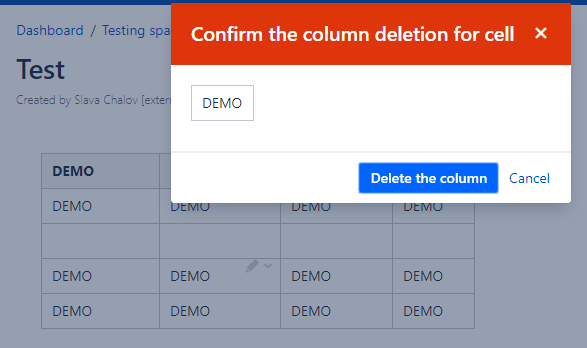
In case you want to remove a column, a warning message to confirm this action will appear. The user needs to approve this action:
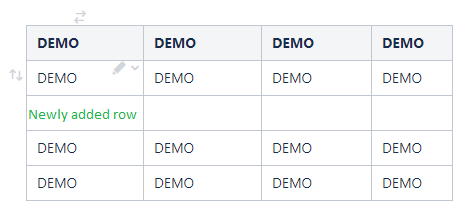
The user is able to add/remove or re-order rows using the 'Insert row below', 'Remove row', 'Move row' options. Drag the row using these icons. These icons are available for use in all rows in the table, except the header row. It is not possible to delete or move the header row.
The newly created row will be added as shown below:
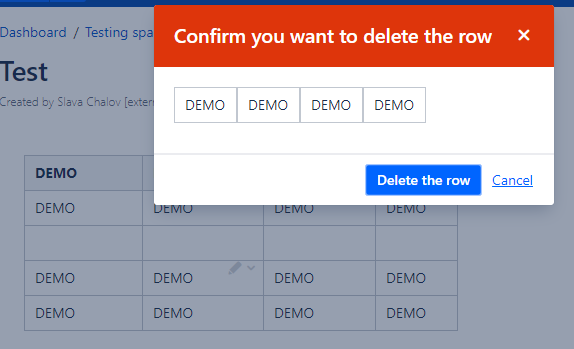
In case you want to remove a row, a warning message to confirm this action will appear. The user needs to approve this action:
Edit table cells
The User is able to edit cells using the 'Edit cell' icon or just by double clicking on the cell. These options are available for use in all cells in the table.
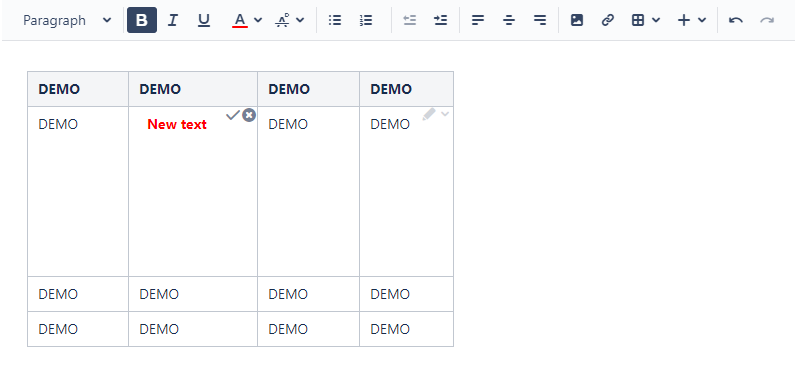
Besides the ability to insert any new content, the user is able to use the rich text editor. It allows the user to format the text or to put macros inside the table as shown below:
In order to save changes click on Save button or use hotkey 'CTRL+S'
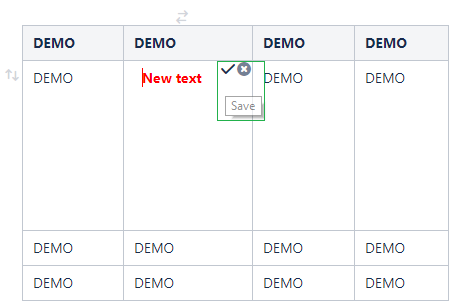
To cancel changes click on cancel button.
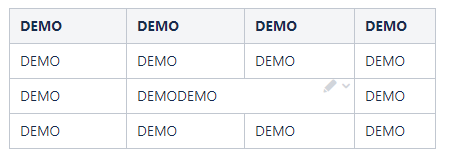
Also, the user is able to merge cells using the 'Merge this and next cell' option. This option is available to all cells in the table, except the cells in the last column.
After that, the cell can be split via the 'Split the cell' option. This icon only appears for merged cells.
Whitelisted macros
Inline Table Editing tool works insided whitelisted macros.
- Column
- Excerpt
- Expand
- Info
- Note
- Page properties
- Panel
- Section
- Tip
- Warning
- Presentation slide
- Presentation slide fragment
Known Issues
- Currently, it is not possible to add task list using
 icon.
icon.