Table of contents:
| Table of Contents |
|---|
Overview
When using Jira, people leave some personal information in the system: names, emails, etc. Users need to know exactly what the data is used for, how it is stored and for how long, and they need to agree to a privacy agreement.
In order for the users and also the company to keep perfect track of these consent agreements, we created the Notifications & Announcements module.
...
We will show you how to easily create announcements, agreements, and other privacy notifications in Jira step-by-step.
| Info |
|---|
Also, don't miss our interesting tutorial that shows you how to work efficiently with our Protection and Security Toolkit! |
| Widget Connector | ||||||||||
|---|---|---|---|---|---|---|---|---|---|---|
|
...
Announcer Dashboard
Open the Manage apps tab and navigate to the section Data Protection and Security Toolkit/Home. Find the Notifications & Announcements Announcer
button, click on it, and you’ll see the Notifications & Announcements Dashboard. It is the main page where an admin can manage all announcements.
...
How to create an announcement
You can create an announcement with a template. To do so, choose one of two predefined templates (Private Policy or Cookie Policy). Alternatively, you can create a new announcement by clicking the Create button.
...
Now, you’ll see the Configuration page - Wizard. The configuration of a new announcement consists of two tabs4 steps: General and Additional configuration, Styling, Scope and Review.
Let’s take a look at it in detail.
General configuration
...
Here is an overview of which General configuration parameters you can set:
...
Name | Default Value | Description | |
|---|---|---|---|
Status | Disabled | Set the announcement status. Select the Enable mark when the announcement settings are finished. | |
Name | Template name | Empty | Enter the name of the announcementtemplate. It’s an internal name which will be visible for Jira administrators only. |
Type | Optional | Choose the type of the announcement: Required or Optional. Required means users will not have any options and will be able to click just one button, for example “Yes“, “Accept“ etc. Optional means users can accept or decline your policy, agreement or any other notification. | |
Title | Dialog title | Empty | Enter the title of the announcement. The title will be visible for all users. |
Main textDialog body | Empty | Enter the content which will be visible for users. You can use a toolbar for text formatting. Set the text type, size, selecting by bold, italics, underlined etc. |
...
Styling
...
Here is an overview of which Additional configuration Styling parameters you can set:
Name | Default Value | Description | |||
|---|---|---|---|---|---|
Display type | Dialog in the screen center | Define the visualization of the announcement, whether it will be the dialog window in the screen center, or banner in the footer (for cookie notifications mostly), or the block login form. | |||
Window size | MediumSmall | Choose the suitable window size:
You can see examples when you set cursor at “i“ sign. | Pin to footer | Disabled | Check the checkbox if you need the announcement to be always pinned at footer of Jira. |
Allow user’s feedback | Disabled | Check the checkbox when you need to get some short feedback from users. | |||
Button count | 1 button | Choose between 1 or 2 button options. With 1 button, your announcement can only be Accepted. With 2 buttons, users have an option to decline your announcement. | |||
Text for accept button | Accept | Define the text that users will see when clicking on the accept button, for example “Accept“ or “Yes“. | |||
Text for decline button | Decline | Define the text that users will see when clicking on the decline button, for example “Decline“ or “No“.Show for project |
Scope
...
Here is an overview of which Scope parameters you can set:
Name | Default Value | Description |
|---|---|---|
Projects | Empty | You can define projects for which the announcement will be displayed. If any project is selected, only users from this project will be able to see the announcement, e.g. Bug fixes project, Help project, etc. Leave empty to show to all the users. |
Start date
Empty
Can view | Logged in users | Define who will see the announcement: authenticated users only or users who are not authenticated yet:
|
Groups | Empty | Define who will see the announcement: all users or a specified group only. If any group is selected, only users from this group will be able to see the announcement, e.g. jira-administrators group, jira-users group, etc. Leave empty to show to all the users. |
Show announcement for
Only logged in users
Define who will see the announcement: authenticated users only or users who are not authenticated yet.
Displaying time frames | Always | You can choose between two options:
|
Review
...
Empty
...
Define when the announcement will stop displaying.
...
Review gives you the general overview of your template, before enabling it.
Here is an overview of which Review parameters you can set:
Name | Default Value | Description |
|---|---|---|
Status | Disabled | You can enable or disable template before saving it. |
How to create an announcement from a template
We have two predefined templates for most popular announcement types:
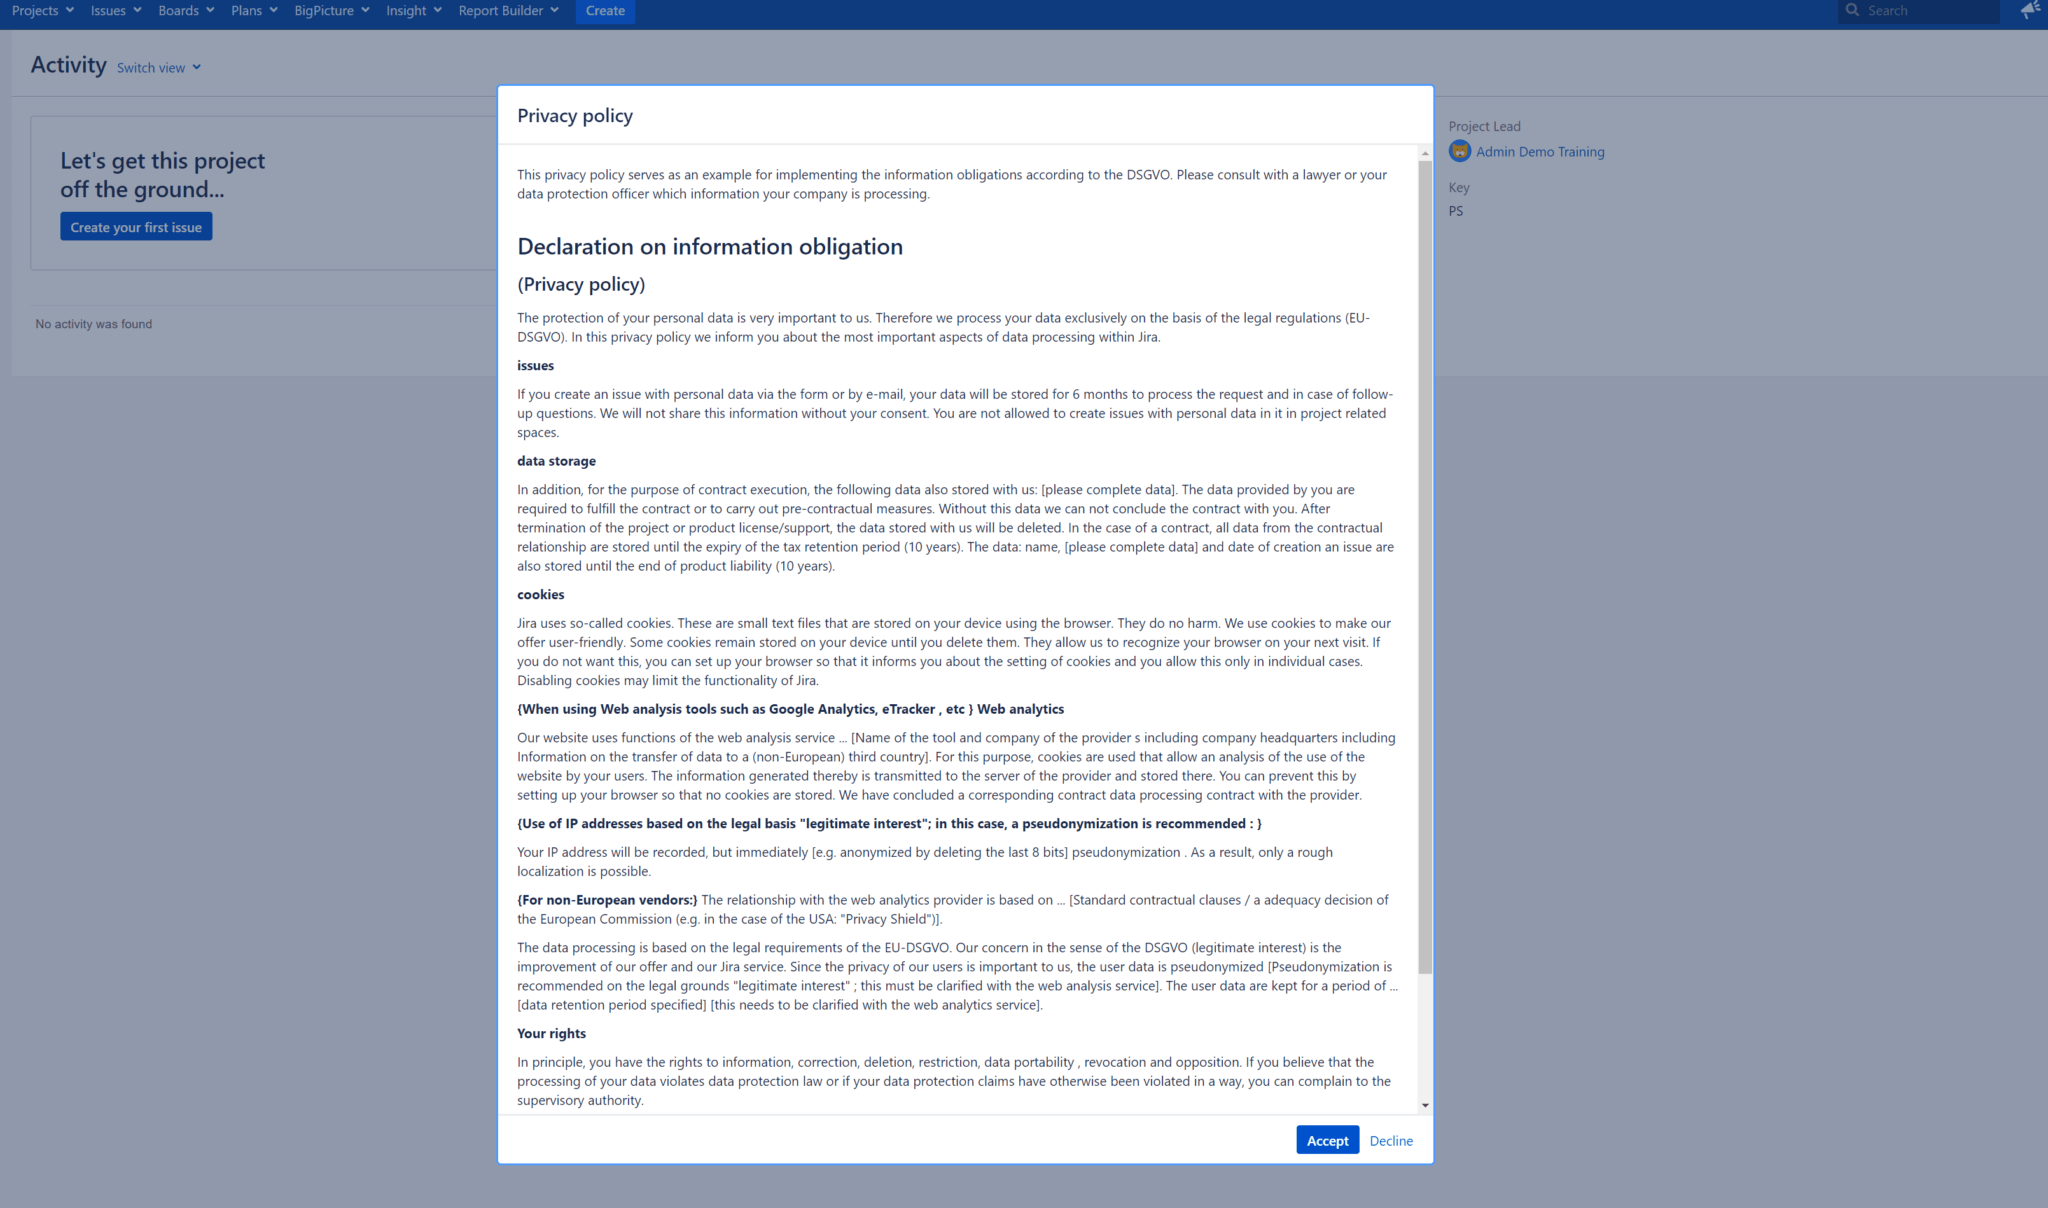
Privacy Policy template, an optional announcement with some predefined title and body. An administrator should change it before publishing! It is just an example.
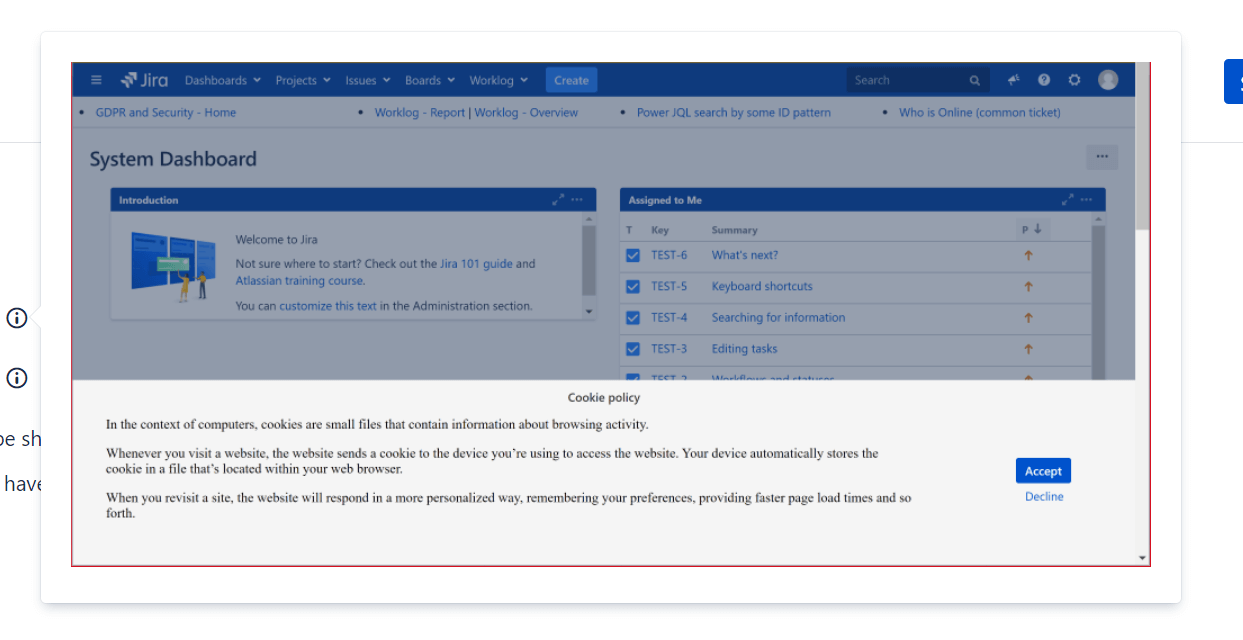
Cookie Policy template, an optional announcement with some predefined title and body for most popular cookie policy examples. It will be shown at the bottom of the page.
Announcement Actions menu
Announcement Status quick definition
At your Dashboard, you see all your created announcements.
...
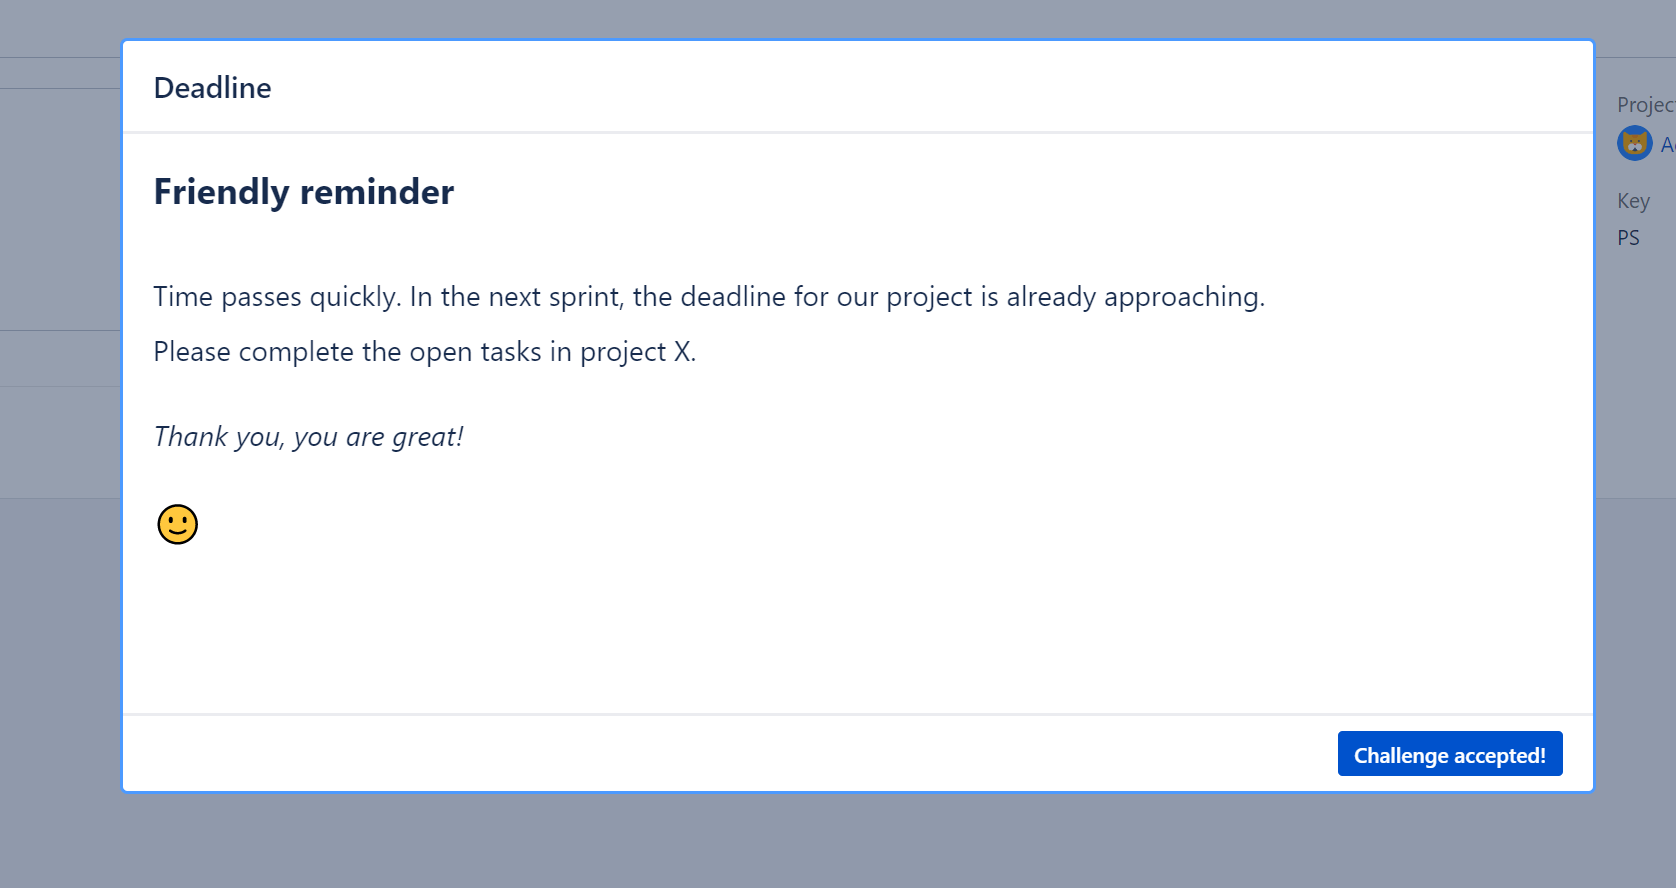
You can check if the announcement is shown correctly. Open any ticket and see the announcement with the display type you have created, e.g., dialog boxDialog in the screen center:
...
You can check who contributed to the template by clicking on the contributors field:
...
You can see Versioning of the template at the end of the name, and unpublished drafts by looking at the Unpublished Changes tag:
...
Statistics
You can see the announcement accepting/declining statistics at the Dashboard in the Accepted/Declined Response status column. More statistical details can be found in the Actions/Statistics menupage. Click on it and see who accepted or rejected the announcement, their IP addresses and when it happened. If you have checked the Feedback checkbox, you will also see the responses.
...
You can delete this announcement if needed with the Actions menu/Delete option.
Recycle bin
Deleted templates will be transferred to the recycle bin first, where after 30 days, they will be permanently deleted.
Before the 30 days, you can restore one or every template from the Recycle bin page:
...
Use cases
Various policies and agreementsto be shown to users:
Privacy policy
Information security policy
Cookie policy
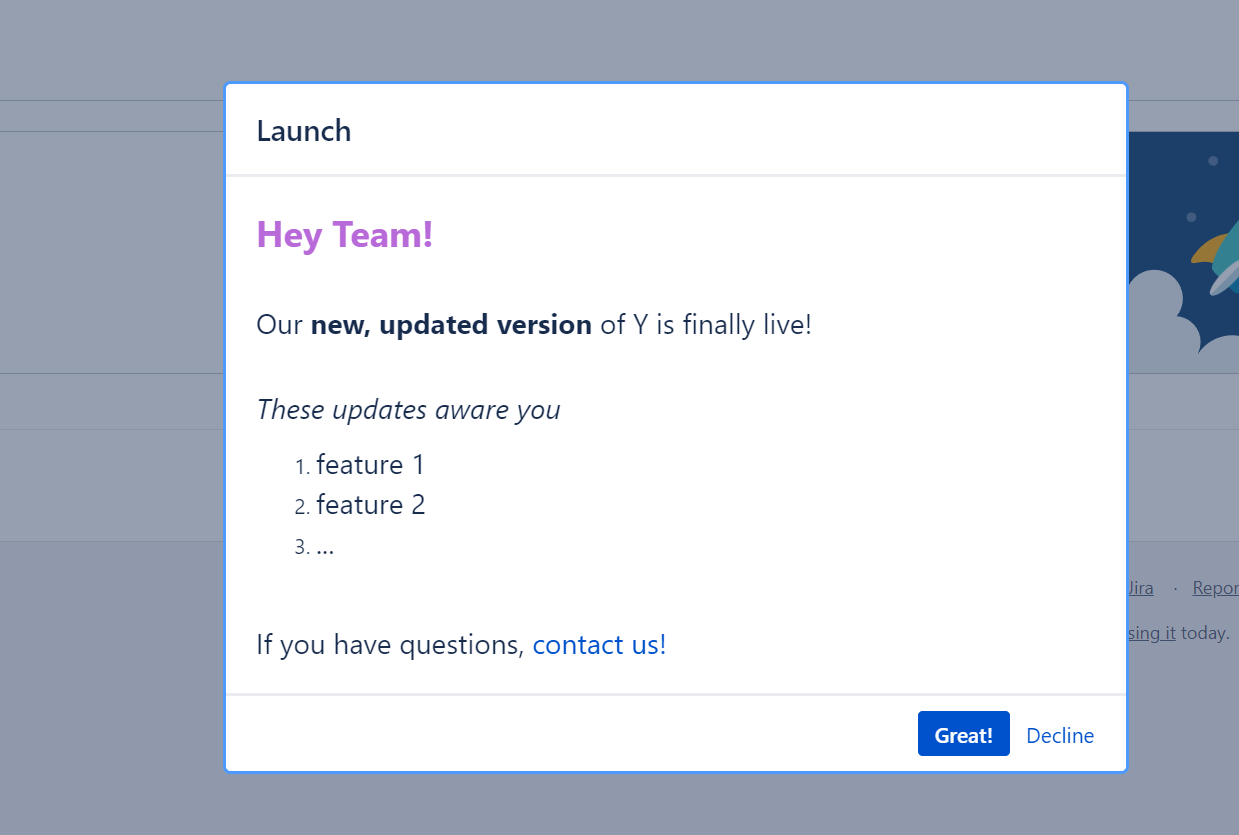
Notifications(including maintenance notifications):
Major changes in the application
Upcoming maintenance
Rules of conduct
Information about pandemic regulations
Deadlines and friendly reminders
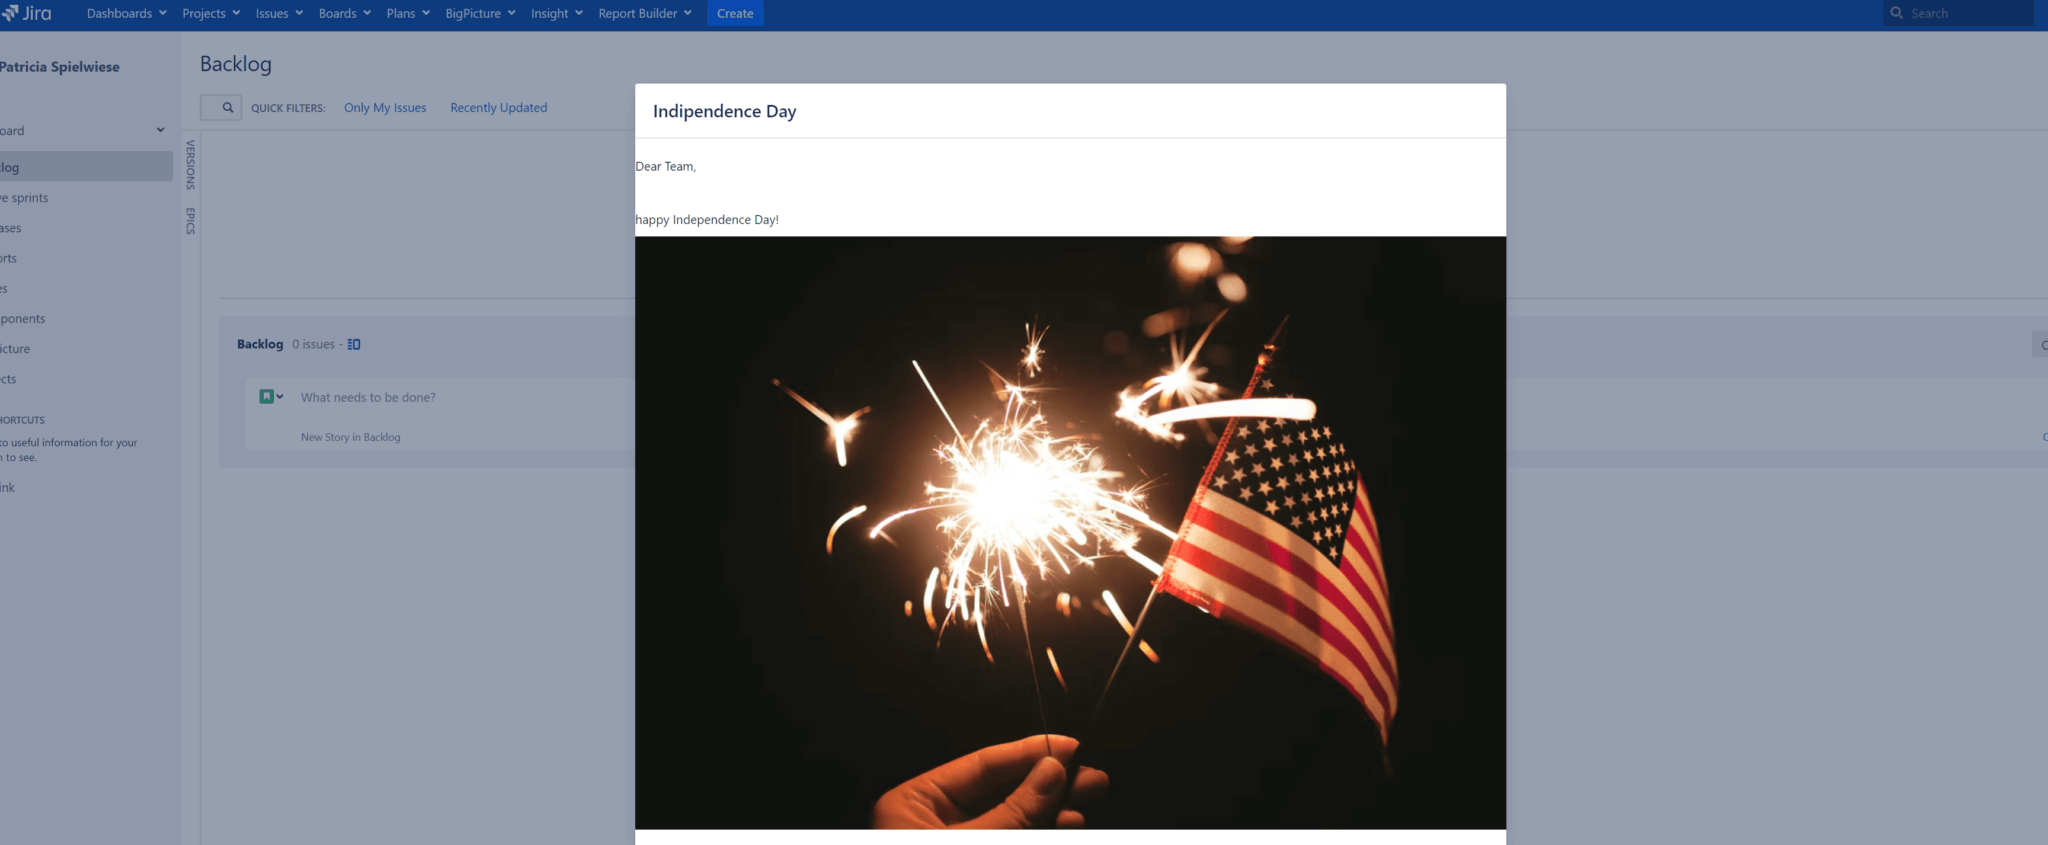
Different news for different groups of users (divide audiences by selecting the “Show for group” or “Show for project/space“ option)
For example, show your US employees some love for Independence Day
...
| Panel | ||||||||
|---|---|---|---|---|---|---|---|---|
| ||||||||
Find more inspiration on how to use the announcement banner in our article. |
Free Privacy Policy Generator
Still looking for the perfect text for your privacy policy? Then we suggest this free tool to you, without any obligation: https://www.freeprivacypolicy.com/free-privacy-policy-generator/
The generator can help you to fulfill the requirements of GDPR, CCPA, and Co.
After creating the text, however, you should get a professional review to ensure that it is legally secure.
The finished text is also provided to you as HTML code, which you can insert on any page of your website.
...